
CVT Transmission Belt Problems: Signs, Causes, and Fixes
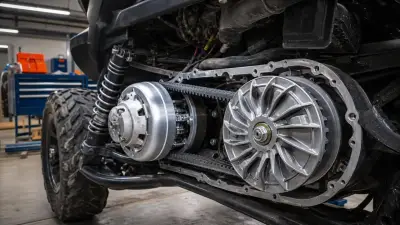




CVT Transmission Belt Problems: Signs, Causes, and Fixes
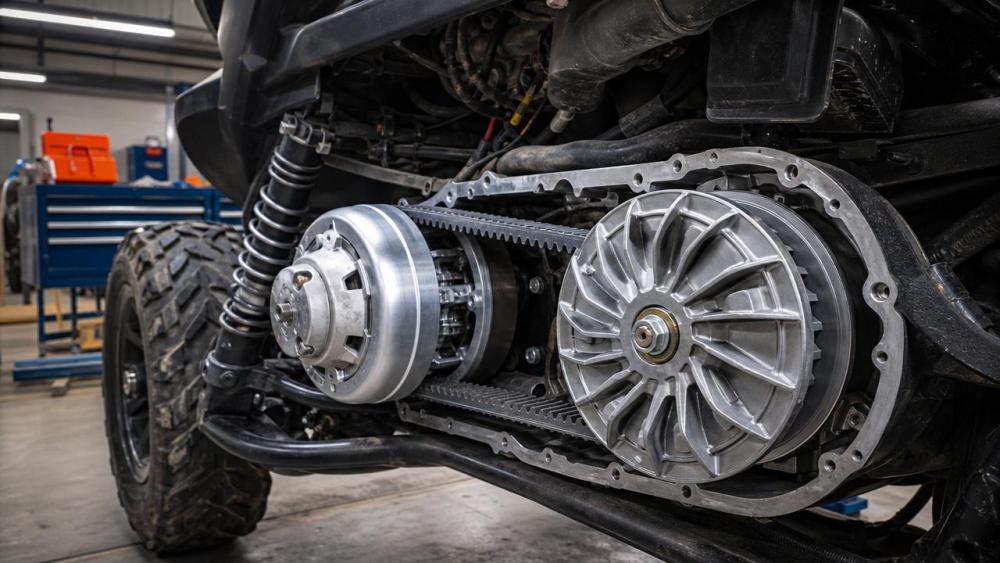
A failing CVT transmission belt can change vehicle behavior fast. Acceleration feels lazy, heat builds up, and drivability becomes inconsistent.
That matters in powersports service because a worn CVT transmission belt rarely fails alone. It usually points to alignment, heat, load, or maintenance issues.
In real workshop conditions, early diagnosis saves parts, labor, and customer downtime. It also prevents repeat comebacks after a quick but incomplete repair.
This guide breaks down common CVT transmission belt symptoms, root causes, and repair steps that hold up under daily use.
What a CVT Transmission Belt Actually Does
A CVT transmission belt transfers engine power between the drive clutch and driven clutch. It also helps the system adjust ratio continuously.
Unlike a simple drive belt, this component works under squeeze force, sidewall friction, and changing pulley diameter. That creates constant heat and stress.
On ATVs, UTVs, snowmobiles, and scooters, CVT transmission belt condition directly affects launch feel, climbing ability, and backshift response.
When the belt loses width, grip, or structural strength, the whole transmission starts compensating. That is why symptoms often spread beyond simple slipping.
Early Signs of CVT Transmission Belt Problems
Most CVT transmission belt failures give warning signs first. The key is separating belt symptoms from clutch, bearing, and calibration issues.
Performance symptoms
- Slipping acceleration during takeoff or mid-range throttle.
- Higher engine rpm with weaker vehicle response.
- Delayed backshift when climbing, towing, or exiting corners.
- Loss of top speed after recent heavy use.
Physical and sensory clues
- Burnt rubber smell near the clutch cover.
- Black belt dust building up faster than normal.
- Jerky engagement, shudder, or vibration under load.
- Squeal, chirp, or rattling from the CVT housing.
A more serious signal is repeated overheating after a belt replacement. That usually means the real fault sits elsewhere in the CVT system.
Most Common Causes of CVT Transmission Belt Failure
From recent service trends, belt damage usually comes from heat, misalignment, contamination, or incorrect operating load. Age alone is only part of the story.
1. Excessive heat
Heat is the biggest enemy of a CVT transmission belt. Slow trail work, deep mud, dune riding, towing, and repeated hard launches raise belt temperature quickly.
As temperature climbs, rubber compounds harden, glaze, or delaminate. Sidewalls lose grip, and the cord structure weakens over time.
2. Incorrect clutch calibration
Wrong spring rates, worn rollers, sticking sheaves, or aggressive tuning can keep the belt in the wrong ratio zone. That creates unnecessary slip and heat.
This is common after performance modifications. The new parts may increase power, but the CVT transmission belt sees that extra load immediately.
3. Misalignment and worn hardware
If clutches are out of alignment, the CVT transmission belt tracks unevenly. One side wears faster, edge fraying appears, and engagement becomes rough.
Bad bearings, bent shafts, worn bushings, or damaged sheave faces can all cause this. Installing a new belt without checking alignment often wastes the new part.
4. Contamination inside the CVT case
Oil, grease, water, and fine grit reduce friction stability. A contaminated CVT transmission belt may grab, slip, then grab again.
That unstable contact creates hot spots and glazing. In off-road applications, poor sealing and clogged ducts make the problem worse.
5. Wrong belt specification
A CVT transmission belt must match width, angle, length, and compound requirements. A close-enough replacement can still shift badly or fail early.
This shows up often in mixed fleets and aftermarket sourcing. Similar part numbers may fit physically but not behave correctly under load.
How to Inspect a CVT Transmission Belt Correctly
A good inspection does more than confirm wear. It helps identify why the CVT transmission belt failed in the first place.
- Remove the cover and note dust level, smell, and moisture.
- Measure belt width against the service limit.
- Check sidewalls for glazing, polish, chunking, or cracks.
- Inspect cogs and inner surface for separation or heat damage.
- Look for uneven edge wear that suggests misalignment.
- Examine clutch faces for grooves, discoloration, or material transfer.
- Spin bearings and inspect bushings, rollers, and sliding surfaces.
If the CVT transmission belt shows blueing, melted spots, or missing chunks, inspect the clutches before ordering repeat replacement parts.
That extra time usually reveals the real cause. It also improves repair quality and customer trust.
What Different Wear Patterns Usually Mean
Reading wear patterns well makes diagnosis faster. It also prevents the common mistake of blaming every issue on the belt alone.
Best Fixes for CVT Transmission Belt Problems
The right fix depends on the failure mode. In practice, durable repair means restoring the complete CVT environment, not just replacing one component.
Replace the belt with the correct specification
Always confirm exact fitment, width, angle, and application rating. A proper CVT transmission belt supports correct ratio shift and better thermal stability.
Restore clutch function
Clean clutch faces, replace worn bushings, inspect rollers, and correct spring setup. Smooth sheave movement reduces slip and keeps belt load consistent.
Fix alignment and support components
Check shaft straightness, bearing condition, and clutch offset. A new CVT transmission belt will not survive long on a crooked running path.
Improve cooling and cleanliness
Clean intake and exhaust ducts, inspect seals, and remove debris. On heavily used machines, cooling airflow matters as much as the replacement belt itself.
Review use conditions
If the vehicle tows, climbs, or crawls often, clutch calibration may need adjustment. This helps the CVT transmission belt operate in a safer rpm range.
How to Reduce Repeat CVT Transmission Belt Failures
Repeat failures usually come from incomplete diagnosis. The belt gets replaced, but the underlying heat source or alignment issue remains unchanged.
- Record belt width, wear pattern, and dust condition at removal.
- Track application history such as towing, mud, snow, or sand use.
- Compare clutch calibration with actual tire size and load setup.
- Inspect air paths and housing seals during every major CVT service.
- Use consistent sourcing for each CVT transmission belt application.
This process improves service consistency across fleets, rental units, and modified recreational vehicles. It also makes future diagnosis much faster.
Final Takeaway
A CVT transmission belt rarely fails for one reason only. Heat, clutch behavior, contamination, alignment, and belt selection usually interact.
The most reliable fix starts with symptom recognition, then moves to measurement, inspection, and root-cause correction. That approach protects both performance and service reputation.
When a CVT transmission belt shows early warning signs, act before total failure. A careful diagnosis today prevents larger transmission costs tomorrow.
Recommended News
 Jun 11, 2026Off-Road Suspension Systems: How to Choose for Terrain and LoadOff-road suspension systems explained: learn how to choose the right setup for terrain, payload, speed, and durability to improve control, uptime, and long-term value.Prof. Kaelen Sterling
 Jun 11, 2026ECE Helmet Certification Explained: ECE 22.06 vs Older StandardsECE helmet certification explained clearly: compare ECE 22.06 with older standards, understand key safety updates, compliance risks, and what smarter helmet sourcing should check.Dr. Valerius Vance
 Jun 11, 2026Carbon Fiber Motorcycle Helmets: Weight, Safety, and Trade-OffsMotorcycle helmets carbon fiber models offer lighter weight, premium comfort, and strong safety potential. Explore certifications, real trade-offs, and how to choose the best fit.Impact Biomechanics Strategist
 Jun 11, 2026CVT Transmission Belt Problems: Signs, Causes, and FixesCVT transmission belt issues can quickly reduce performance and cause overheating. Learn the warning signs, root causes, and proven fixes to prevent costly repeat failures.Off-road Dynamics Expert
 Jun 11, 2026ATV Utility Vehicles: Key Features to Compare Before You BuyATV utility vehicles buying guide: compare towing, traction, cargo capacity, comfort, and maintenance costs to choose the right model for work, trails, and long-term value.Off-road Dynamics Expert
 Jun 11, 2026Are Stainless Steel Exhaust Systems Worth the Cost in 2026?Exhaust systems stainless steel in 2026: discover when the higher upfront cost pays off through better durability, lower warranty risk, and stronger aftermarket value.Aftermarket Tuning Scientist
 Jun 11, 2026Electronic Differential Lock: When It Improves Off-Road TractionElectronic differential lock explained: learn when it truly improves off-road traction, climbing stability, and control—and when the added cost and complexity may not pay off.Off-road Dynamics Expert
 Jun 04, 2026Powersports Dealer Margins: Key Cost Drivers in Inventory, Parts, and ServicePowersports dealer margins depend on more than unit sales. Learn how inventory aging, parts turnover, and service efficiency shape profit and dealership performance.Mr. Orion Thorne
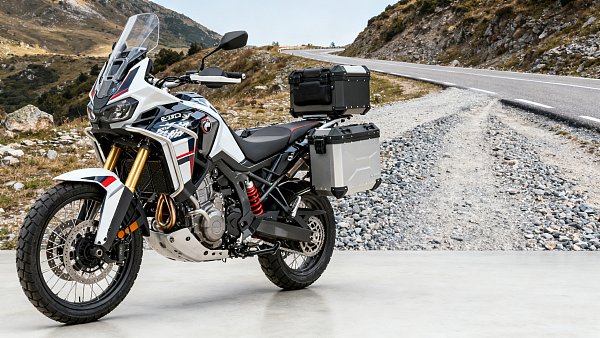
 Jun 04, 2026ADV Motorcycles Explained: Tank Range, Suspension Travel, and Luggage CapacityADV motorcycles explained: learn how tank range, suspension travel, and luggage capacity affect real-world touring, off-road control, and buying decisions before you choose.Two-Wheel Kinematics Architect
 Jun 04, 2026ATV UTV Comparison: Which Platform Fits Farm Work, Hunting, or Trail Riding?ATV UTV comparison guide for farm work, hunting, and trail riding. See which platform offers better hauling, agility, comfort, and safety before you buy.Off-road Dynamics Expert
 Jun 04, 2026Off-road Vehicles for Rough Terrain: Ground Clearance, Drivetrain, and Payload BasicsOff-road vehicles for rough terrain compared the smart way: learn how ground clearance, drivetrain design, and payload affect traction, stability, and loaded performance.Off-road Dynamics Expert
 Jun 04, 2026Heavy-duty Snowmobiles: What to Check Before Buying for Utility and Trail UseSnowmobiles buying guide: learn what to check before choosing a heavy-duty model for utility and trail use, from engine, track, and towing to comfort and cold-start reliability.Extreme Environment Powertrain Fellow
 Jun 04, 2026Personal Watercraft Buying Guide: Hull Size, Engine Output, and Rider CapacityPersonal watercraft buying guide covering hull size, engine output, and rider capacity. Compare models smarter for recreation, rental, touring, and family use.Extreme Environment Powertrain Fellow
 Jun 04, 2026Carbon Fiber Helmets vs Composite Helmets: Weight, Impact, and Price TradeoffsCarbon fiber helmets vs composite helmets: compare weight, impact behavior, certifications, and price tradeoffs to choose the best helmet for touring, ADV, ATV, or UTV riding.Impact Biomechanics Strategist
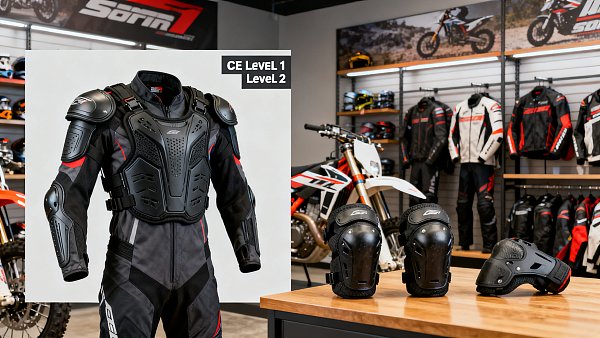
 Jun 04, 2026Motorcycle Armor Levels Explained: CE Ratings, Coverage Areas, and FitMotorcycle armor explained clearly: compare CE Level 1 vs Level 2, key coverage areas, and fit checks for touring, ADV, and off-road riding to choose protection that works in real conditions.Impact Biomechanics Strategist
 Jun 04, 2026Motorcycle Suspension Setup Guide: Sag, Rebound, and Compression ExplainedMotorcycle suspension setup made simple: learn sag, rebound, and compression to improve comfort, traction, and control on pavement, gravel, and loaded touring rides.Aftermarket Tuning Scientist
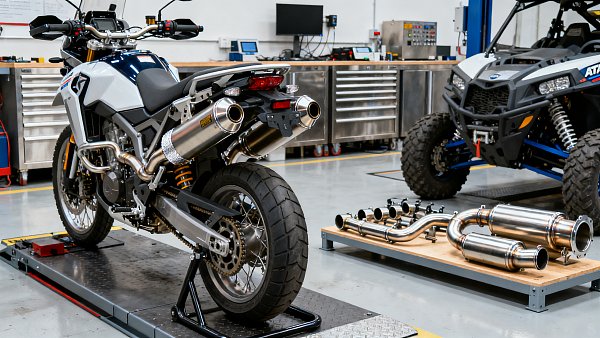
 Jun 04, 2026Aftermarket Exhaust Systems: How to Choose Pipe Material, Sound, and Street LegalityAftermarket exhaust systems guide: compare titanium, stainless, and carbon options, sound character, and street legality to choose a smarter, safer upgrade for your bike.Aftermarket Tuning Scientist
Related News
- 00
0000-00
Off-Road Suspension Systems: How to Choose for Terrain and Load - 00
0000-00
ECE Helmet Certification Explained: ECE 22.06 vs Older Standards - 00
0000-00
Carbon Fiber Motorcycle Helmets: Weight, Safety, and Trade-Offs - 00
0000-00
CVT Transmission Belt Problems: Signs, Causes, and Fixes - 00
0000-00
ATV Utility Vehicles: Key Features to Compare Before You Buy
Weekly Insights
Stay ahead with our curated technology reports delivered every Monday.